
SabeeApp Go can read a guest's travel document — passport, national ID card, driving licence, residence permit, or Hungarian address card (lakcímkártya) — using your phone's camera. The app extracts the guest's details automatically and saves them to the reservation, eliminating manual data entry and reducing transcription errors.
Before You Start
Device requirement
ID Scan requires a real iOS or Android device with a working camera. It is not available in a desktop browser or when running SabeeApp Go as a PWA on a computer. If the scan button is unavailable, you are not on a supported device.
You will also need:
- The guest's physical document (passport, ID card, driving licence, residence permit, or Hungarian address card)
- The reservation open in SabeeApp Go and the correct guest selected
What Information Is Captured
The fields extracted depend on the document type.
Identity documents (passport, ID card, driving licence, residence permit)
- First name and last name
- Date and place of birth
- Gender
- Citizenship / nationality
- Age
- Mother's name (where present on the document)
- Maiden name (where present on the document)
- Document type and document number
Where the document contains an RFID chip (most modern passports and many ID cards), the app reads the chip in addition to the visual fields, which improves accuracy.
Hungarian address card (lakcímkártya)
- Postal code, city, country, and street address
Scanning an address card fills only the guest's address fields and does not overwrite their identity details. Equally, scanning an identity document does not overwrite any previously saved address. The two scan types are independent.
Step-by-Step: Scanning a Document
Step 1 — Open the Guest
- From the Home screen, find and tap the relevant reservation.
- On the Reservation Detail screen, locate the guest you want to document and tap their card.
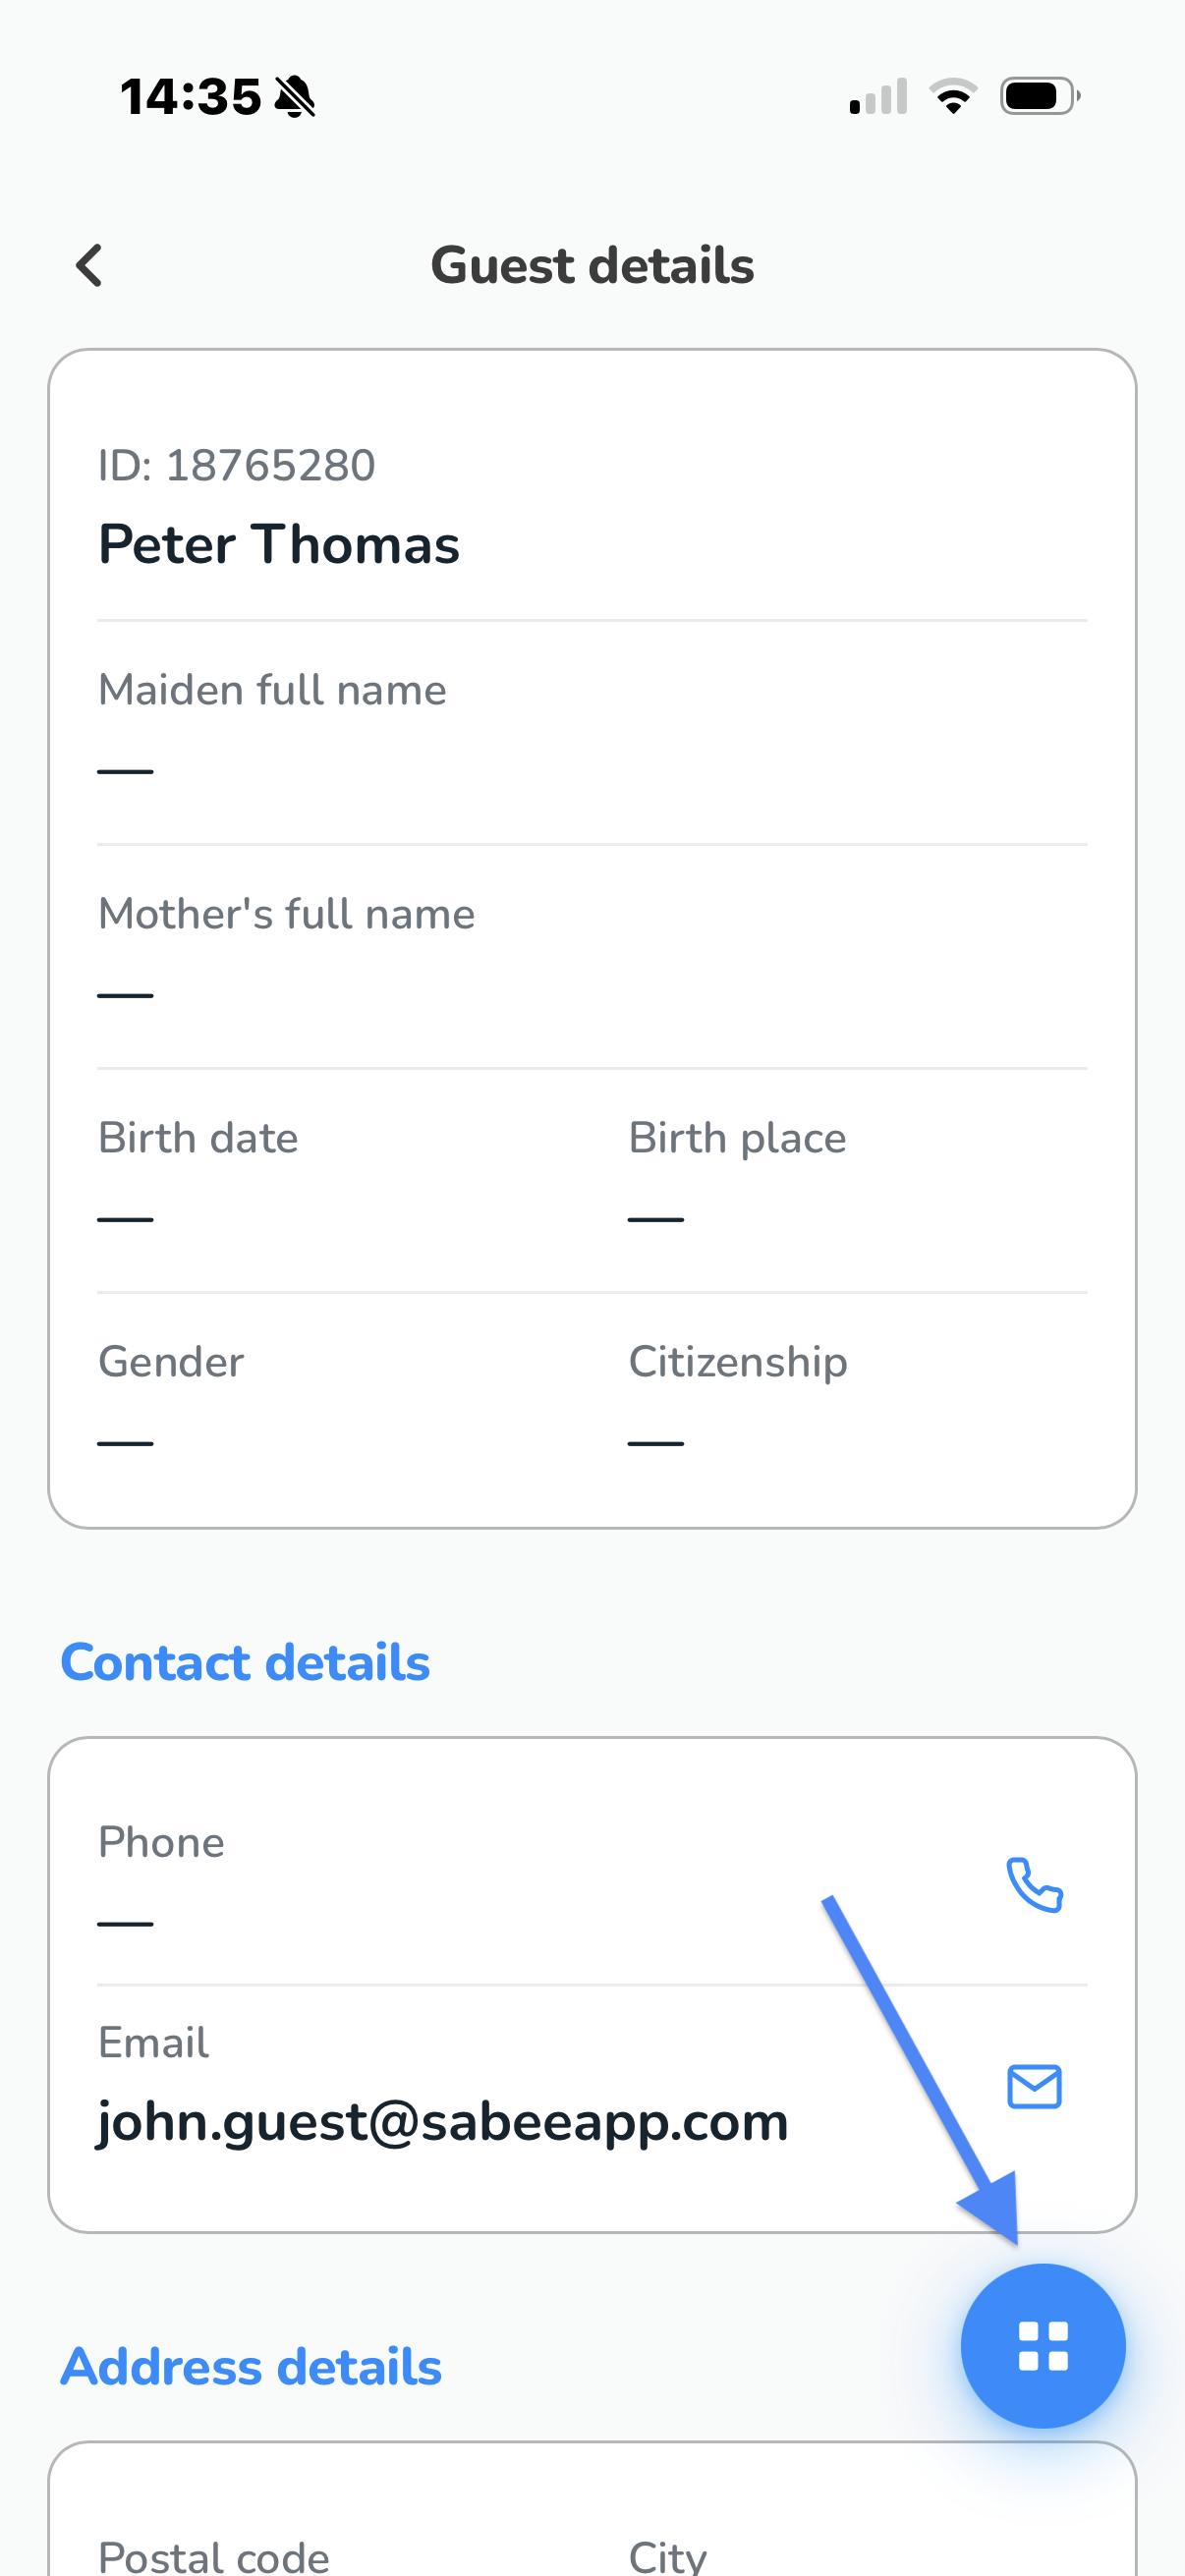
- The Guest Detail screen opens, showing the guest's current information.
Step 2 — Start the ID Scan
- Tap the floating action button (the circular button at the bottom right of the Guest Detaa screen)
.
- A small menu appears with two options. Tap Scan Document.
- The camera view opens. Wait briefly for the document scanner to initialise — a loading indicator appears while it sets up.
Step 3 — Scan the Document
- Hold the document flat and well-lit, with the data page (the page with the photo and the machine-readable zone) facing the camera.
- Align the document inside the scanning frame shown on screen.
- Keep the device steady. The scanner reads the document automatically — there is no shutter button to tap.
Tips for a clean scan: Good, even lighting gives the best results. Avoid shadows across the document. If the document has a glossy surface, tilt it slightly to reduce reflections.
Step 4 — Review and Save
Once the document is read, a result panel appears showing the extracted data. You have two options:
- Save — writes the scanned data directly to the guest record and returns to Guest Detail. Use this when the extracted data is correct and complete.
- Edit — opens the Edit Guest form with all scanned fields pre-filled. Use this to correct any field before saving, or to add information the document did not contain (such as a phone number, email address, or guest address).
Note on the Edit Guest form: The form does not enforce required fields. You can save a guest record with any combination of filled or empty fields. Decide which fields your property requires staff to complete as part of your check-in procedure.
After Saving
Once saved, the guest's document details appear in the Document Details card on the Guest Detail screen, including the document type and number. The Reservation Detail screen also shows a document indicator on the guest's card so you can see at a glance which guests have been documented.
If the Scan Does Not Complete
If the scan times out, is cancelled, or is interrupted, the screen offers a Scan again option. Common reasons a scan may not complete:
- Poor or uneven lighting on the document
- The document is moving or not held flat
- The document is damaged or heavily worn in the machine-readable zone
- The camera lens is dirty or obscured
Tap Scan again to try immediately. If repeated attempts fail, tap the floating action button and choose Edit guest to enter the guest's details manually.
Troubleshooting
The Scan Document option is not available
Scan Document is disabled in desktop browsers and PWA previews on a computer. Open SabeeApp Go on a physical iOS or Android device to use this feature.
The camera does not open
Check that SabeeApp Go has permission to access the camera in your device settings. On iOS, go to Settings > SabeeApp Go > Camera. On Android, go to Settings > Apps > SabeeApp Go > Permissions > Camera.
Scanned data looks incorrect
Optical character recognition can occasionally misread characters on worn or damaged documents. Always tap Editinstead of Save if you want to review the data before it is written to the guest record. You can correct any field in the Edit Guest form before saving.
I saved incorrect data by mistake
Open the guest from the Reservation Detail screen, tap the floating action button, choose Edit guest, correct the fields, and tap Save again. Changes overwrite the previous values.
Key Points to Remember
- ID Scan works only on a real phone or tablet — not in a desktop browser.
- The scan reads both the printed data zone and the RFID chip where available.
- Use Edit if you need to review or add fields before saving.
- If a scan fails, use Edit guest to enter details manually.
- No fields are mandatory — your property's check-in procedure determines what must be completed.